
EXPERIENCES
The King of North Georgia’s Golf Courses
a full round should leave you totally satisfied. In that sense, the Valhalla Golf Club delivers:
Meandering through the Blue Ridge Mountains, this Helen, Georgia, golf course blends fun
play with stunning scenery, all at reasonable prices.
CLUB HOURS AND CONTACT INFORMATION
8am – 6pm, seven days a week
664 Bahn Innsbruck
Helen, GA 30545
Phone: (706) 878-2200
Rates
Rates include golf cart rental fees and taxes, and are subject to change at the course’s discretion. Weekend rates apply to federal holidays. Senior rates are reserved for players over 60.
| MONDAY – FRIDAY | SATURDAY – SUNDAY |
|---|---|
| Standard $55 | Standard $65 |
| Senior $47 | Senior $55 |
9 HOLE ROUND
| MONDAY – FRIDAY | SATURDAY – SUNDAY |
|---|---|
| Standard $34 | Standard $40 |
| Senior $30 | Senior $36 |

10 Round Package
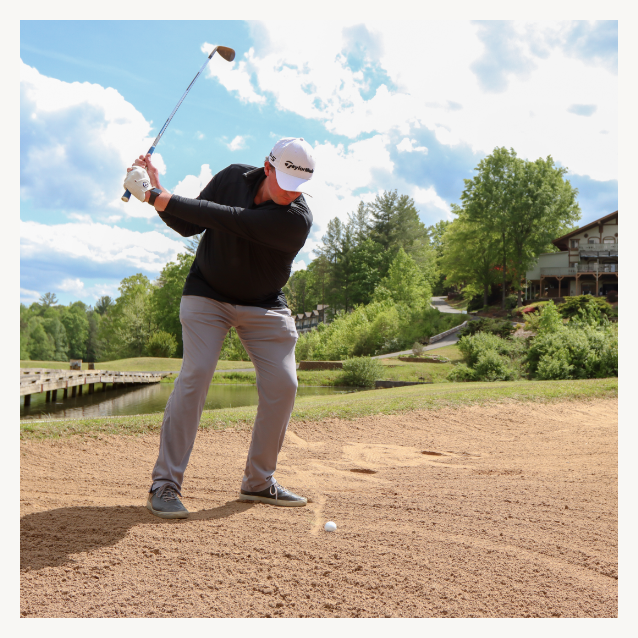
Includes all golf fees and range balls for $400! Rounds can be used anytime, and they never expire!
*Rounds are non-transferable and have no cash value.
*Individual pre-pay golf package
Conquer Valhalla Golf Club
Stretching out in the shadow of the Chattahoochee National Forest, Valhalla Golf presents a stiff test. At its longest, this North Georgia golf course clocks in at 6,502 yards; at its strongest, a scratch golfer would be pleased to shoot par. With pronounced elevation changes, natural and manmade hazards, and strong hole variety, this course demands intelligence and shot control.
Think you have what it takes to succeed?
View stats on each hole, photos and more
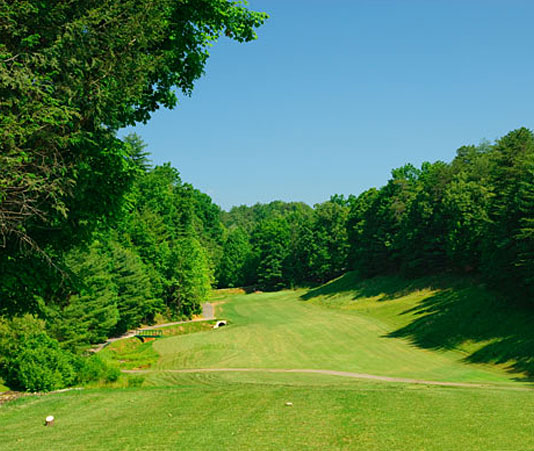
Don’t let the left side of this par 4 intimidate you. You can hit a 3-wood or even a long Iron off this tee; just aim to the right and let it roll off the bank.
| Blue | 358 |
| Yellow | 291 |
| Red | 246 |
| Par | 4 |
| Handicap | 11 |
View stats on each hole, photos and more
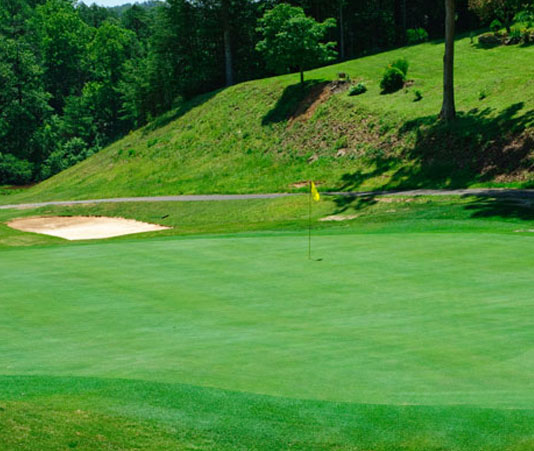
There is a lot of room on the right side. A great drive may cut the corner, but this is a hole where a 3-wood or long iron might be the safe play.
| Blue | 349 |
| Yellow | 278 |
| Red | 235 |
| Par | 4 |
| Handicap | 13 |
View stats on each hole, photos and more
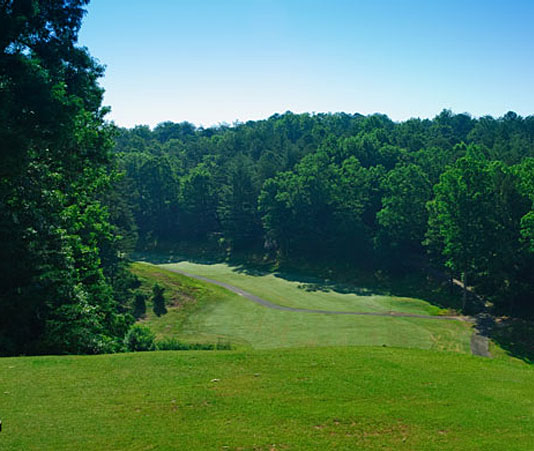
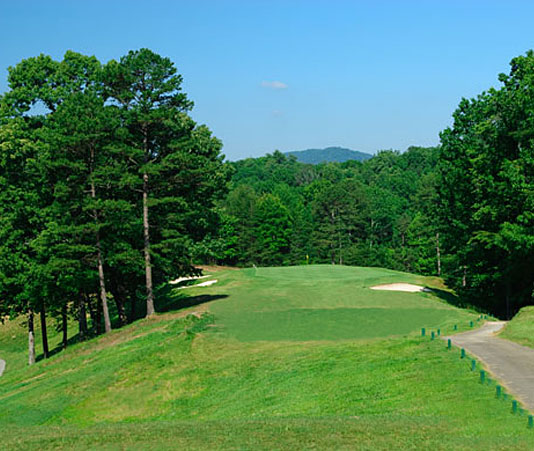
This is a long Par 5 and unless you are a long hitter, don’t worry about reaching the green in two. The key to this hole is the tee shot. Be careful of the steepness of the cart path here. Do not take the cart out of gear and apply brakes slowly when going into curves. From there it is uphill to the green.
| Blue | 574 |
| Yellow | 464 |
| Red | 344 |
| Par | 5 |
| Handicap | 1 |
View stats on each hole, photos and more
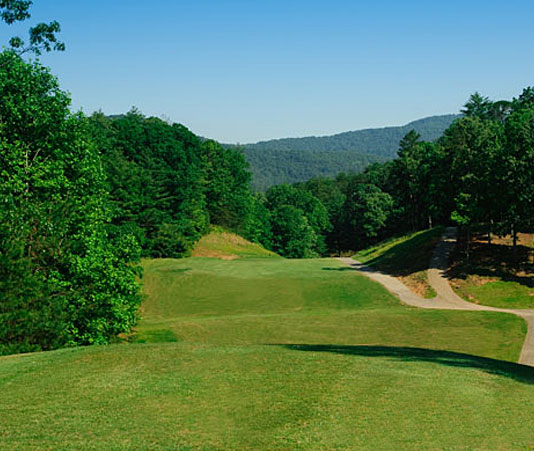
Not a long Par 3, but a difficult one. Check the wind before teeing off. The key to this hole is club selection, because of the depth of the green. Again, be careful of the steepness of the cart path and use the brakes wisely and carefully.
| Blue | 168 |
| Yellow | 125 |
| Red | 113 |
| Par | 3 |
| Handicap | 15 |
View stats on each hole, photos and more
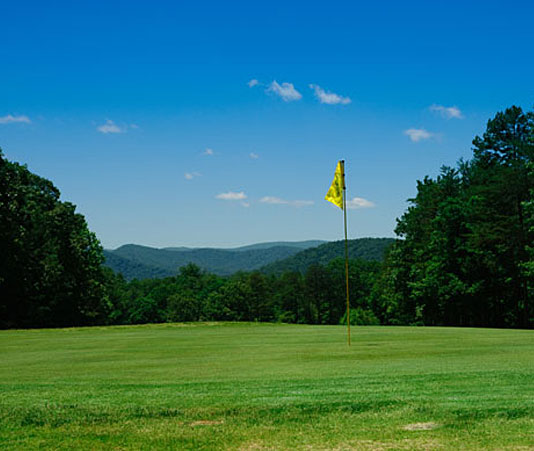
The best way to describe this hole is straight and narrow. If you miss the fairway, miss it to the right and hopefully the slope will bring you back.
| Blue | 404 |
| Yellow | 338 |
| Red | 334 |
| Par | 4 |
| Handicap | 3 |
View stats on each hole, photos and more
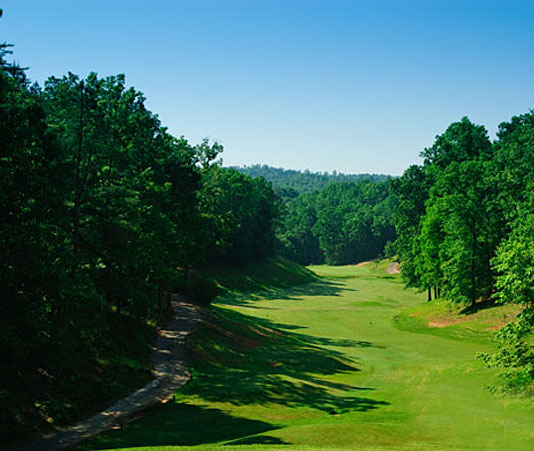
This hole requires a demanding tee ball, so focus on hitting the fairway, even if it takes a 3-wood. Remember that this hole plays uphill. Be aware of club selection.
| Blue | 400 |
| Yellow | 364 |
| Red | 296 |
| Par | 4 |
| Handicap | 5 |
View stats on each hole, photos and more
This is the shortest Par 5 on the course. It offers you a chance for a birdie or even an eagle. The tee ball should be played left to middle of the fairway. After that, the choice is yours; lay up or go for it. Just remember the creek in front of the green.
| Blue | 473 |
| Yellow | 403 |
| Red | 362 |
| Par | 5 |
| Handicap | 7 |
View stats on each hole, photos and more
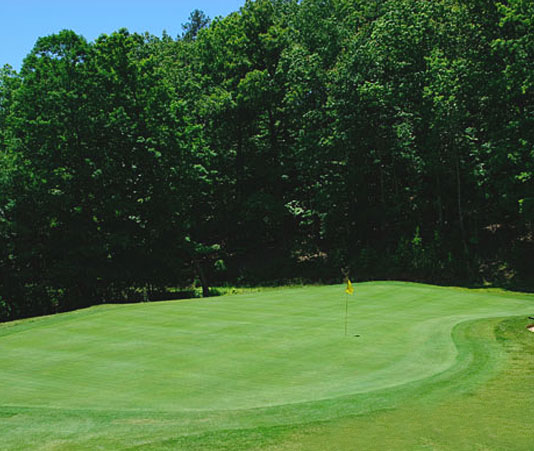
This is possibly the easiest Par 3 on the course. Be aware of the wind. The depth of the green offers a three club variance.
| Blue | 200 |
| Yellow | 143 |
| Red | 125 |
| Par | 3 |
| Handicap | 17 |
View stats on each hole, photos and more
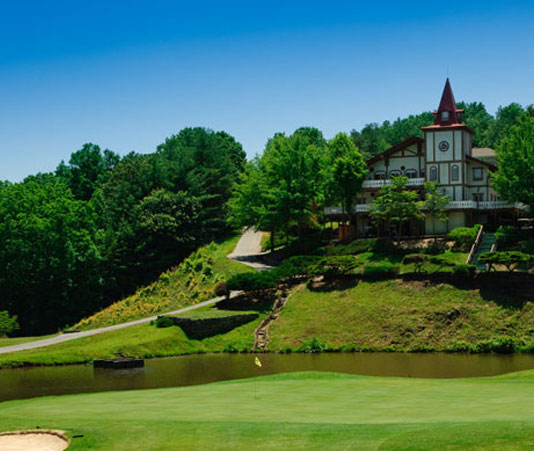
This is a great hole to finish the first 9. Just aim your tee shot at scenic Mt. Yonah. From the middle tees, play your shot from 190 to 200 yards to your landing area in the fairway. The ideal landing area is center to left of the fairway to keep the pond out of play. From the fairway, check the wind and yardage. If you miss the green, miss it to the right since water comes into play on the left.
| Blue | 380 |
| Yellow | 329 |
| Red | 289 |
| Par | 4 |
| Handicap | 9 |
View stats on each hole, photos and more
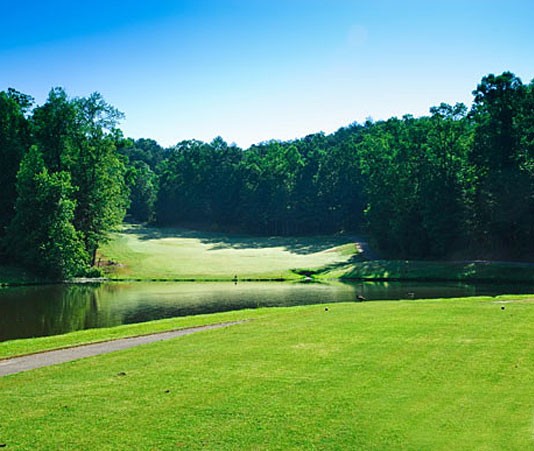
The key to this Par 5 is to line up correctly on the tee. Most players line up too far to the right and hit into the woods. Remember to hit one extra club on your approach shot, due to the elevation of the green.
| Blue | 481 |
| Yellow | 427 |
| Red | 338 |
| Par | 5 |
| Handicap | 4 |
View stats on each hole, photos and more
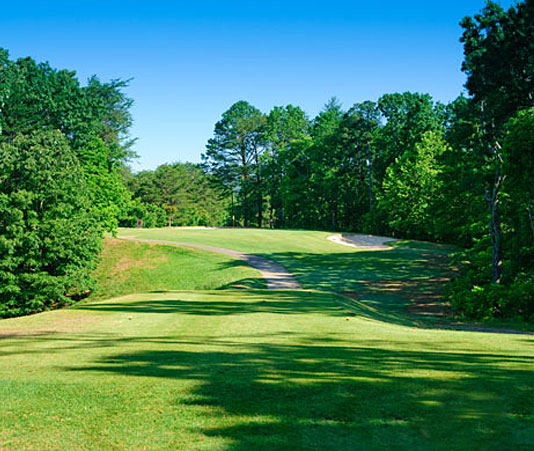
This Par 3 plays straightforward. Take into consideration the depth of the green and a slight elevation. If you miss this green, miss it to the left.
| Blue | 183 |
| Yellow | 135 |
| Red | 116 |
| Par | 3 |
| Handicap | 18 |
View stats on each hole, photos and more
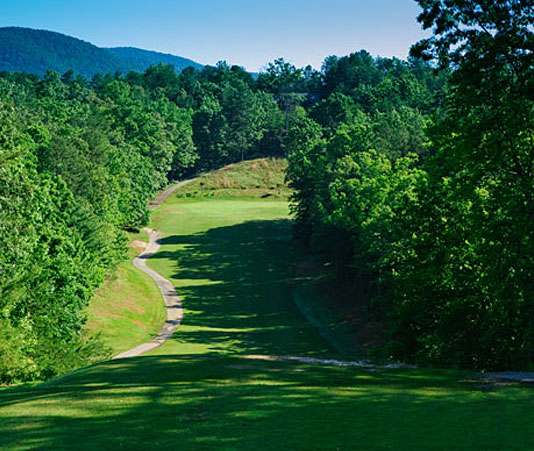
There is not much room for error on this hole, so hit your most accurate long iron or wood to the fairway. Remember that the second shot will play 10 to 15 yards longer than it will measure. The cart path here has two severe curves going downhill to the fairway. Also be aware of the hill when going to the next hole.
| Blue | 407 |
| Yellow | 353 |
| Red | 291 |
| Par | 4 |
| Handicap | 10 |
View stats on each hole, photos and more
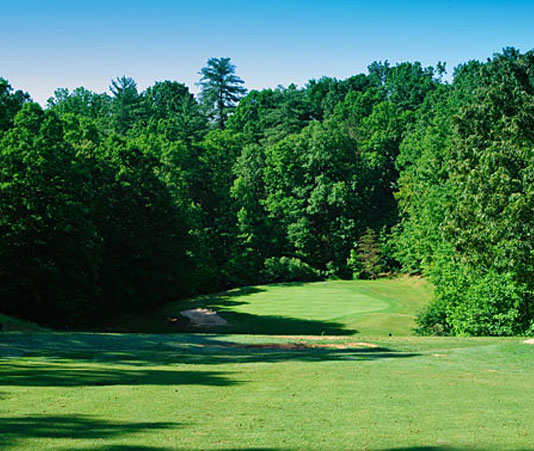
The ideal shot on this hole is to lay up from the white tee. Shot placement is the key on this hole. The fairway begins to drop off at 150 yards from the green. Remember to play your shot from the center to left of the fairway, since the right side severely drops off to an almost unplayable area on this hole. This is another cart path to drive carefully on.
| Blue | 338 |
| Yellow | 310 |
| Red | 304 |
| Par | 4 |
| Handicap | 6 |
View stats on each hole, photos and more
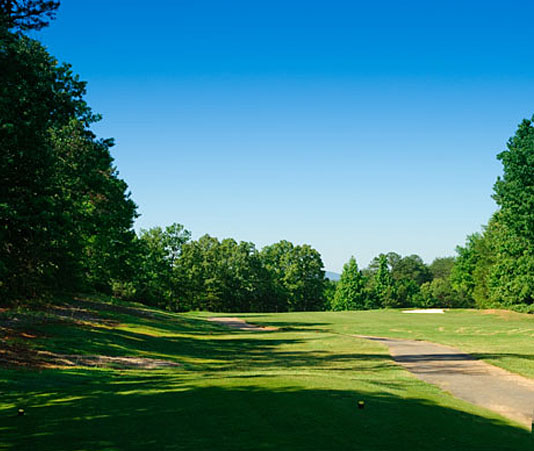
An accurate drive is needed, as lateral hazards run on both sides of this well-bunkered hole; bring your sand wedge.
| Blue | 383 |
| Yellow | 323 |
| Red | 282 |
| Par | 4 |
| Handicap | 12 |
View stats on each hole, photos and more
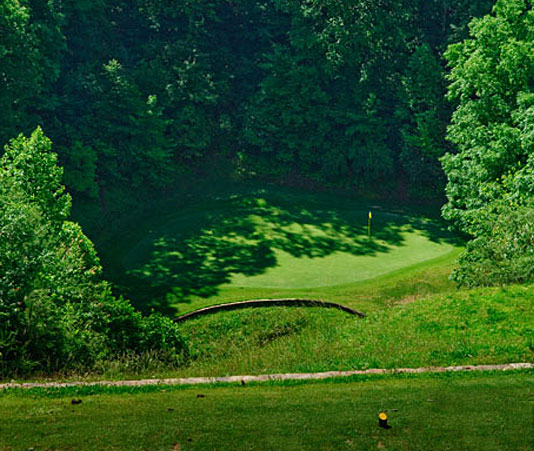
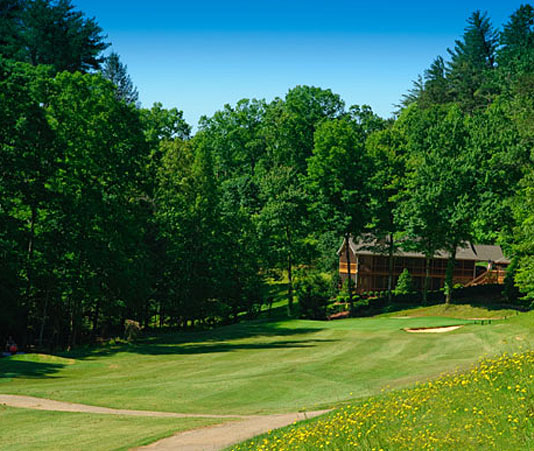
This is definitely our signature hole! From the top of the tee box, you can play the tee shot from around 125 to 135 yards. Your ball will drop about 150 feet before reaching the green. Be sure to check the wind, this cart path is straight downhill with a sharp turn to the right. Come to a complete stop at the top of the hill before starting downhill. Do NOT put your cart in neutral or lock your brakes going downhill! Take the curve slowly and carefully.
| Blue | 177 |
| Yellow | 158 |
| Red | 130 |
| Par | 3 |
| Handicap | 16 |
View stats on each hole, photos and more
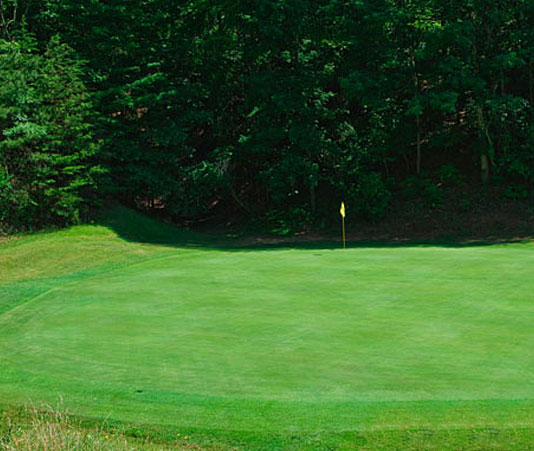
This is definitely the toughest Par 5 on the course. Your drive, as well as your approach shot, should favor the right side to avoid the creek that runs all the way along the left side. The green slopes from the front to back, so read your putt carefully.
| Blue | 478 |
| Yellow | 415 |
| Red | 367 |
| Par | 5 |
| Handicap | 2 |
View stats on each hole, photos and more
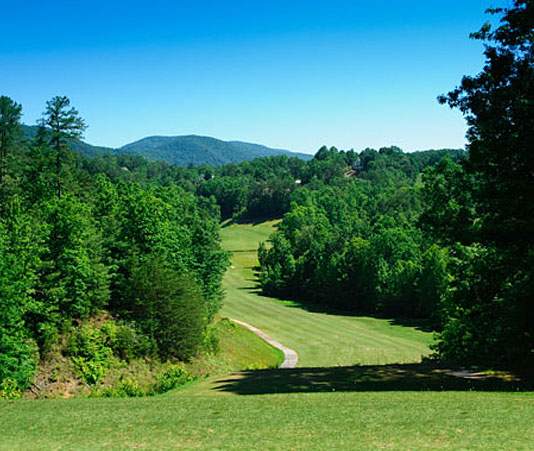
This is a tough driving hole for many golfers. Favor the left side, since it opens up at the top of the fairway. This green slopes from back to front, so be aware of the pin placement on your approach shot to the green. It is better to putt uphill on this green.
| Blue | 306 |
| Yellow | 270 |
| Red | 232 |
| Par | 4 |
| Handicap | 14 |
View stats on each hole, photos and more
First of all, be careful crossing the road from the #17 green to the tee box on #18. This is a demanding Par 4. It requires a tee shot that favors the right side. Be cautious going down the hill to the fairway. Your approach shot is to a big green that slopes from the back to front. Check your club selection and take dead aim.
| Blue | 443 |
| Yellow | 346 |
| Red | 321 |
| Par | 4 |
| Handicap | 8 |
| Hole | Rating/Slope | 1 | 2 | 3 | 4 | 5 | 6 | 7 | 8 | 9 | In | Out |
|---|---|---|---|---|---|---|---|---|---|---|---|---|
| Blue | 72.7/135 | 358 | 349 | 574 | 168 | 404 | 400 | 473 | 200 | 380 | 3306 | 6502 |
| Gold | 68.2/120 | 291 | 278 | 464 | 125 | 338 | 364 | 403 | 143 | 329 | 2735 | 5472 |
| Red | 69.2/116 | 246 | 235 | 344 | 113 | 334 | 296 | 362 | 125 | 289 | 2344 | 4725 |
| Par | 4 | 4 | 5 | 3 | 4 | 4 | 5 | 3 | 4 | 36 | 72 | |
| Handicap | 11 | 13 | 1 | 15 | 3 | 5 | 7 | 17 | 9 |
| Hole | Rating/Slope | 10 | 11 | 12 | 13 | 14 | 15 | 16 | 17 | 18 | Out |
|---|---|---|---|---|---|---|---|---|---|---|---|
| Blue | 72.7/135 | 481 | 183 | 407 | 338 | 383 | 177 | 478 | 306 | 443 | 3196 |
| Gold | 68.2/120 | 427 | 135 | 353 | 310 | 323 | 158 | 415 | 270 | 346 | 2737 |
| Red | 69.2/116 | 338 | 116 | 291 | 304 | 282 | 130 | 367 | 232 | 321 | 2381 |
| Par | 5 | 3 | 4 | 4 | 4 | 3 | 5 | 4 | 4 | 36 | |
| Handicap | 4 | 18 | 10 | 6 | 12 | 16 | 2 | 14 | 8 |
Valhalla Golf Club
When you become a member at the Valhalla Golf Club, you don’t just get access to one of the best golf courses in North Georgia. You get preferred tee times, discounts on merchandise and food, invitations to exclusive events, and more. Golf is different in the Blue Ridge Mountains — sign up today and see for yourself.
Valhalla Golf offers competitive rates for both Individual and Family Memberships. Please call (706) 878-2200 for information.
BECOME A MEMBER
Call (706) 878-2200
Custom Private Lessons & Group Classes
Whether you’re looking to strengthen your fundamentals, groove your driver, or hone your short game, our Golf Academy will help you prepare for the Valhalla challenge. Bringing over 20 years of teaching experience to our North Georgia golf resort, Head PGA professional, Mike McCall, provides insight and advice from a player’s perspective, and runs both private and group lessons.
WE OFFER
• Custom private lessons
• Group classes
Call (706) 878-2200 to book a lesson.


